Nov
16
2015
16
2015
Managing Your Expenses in Online Invoices
To start managing your added expenses:
- From the “Finance” menu choose “Expenses”.
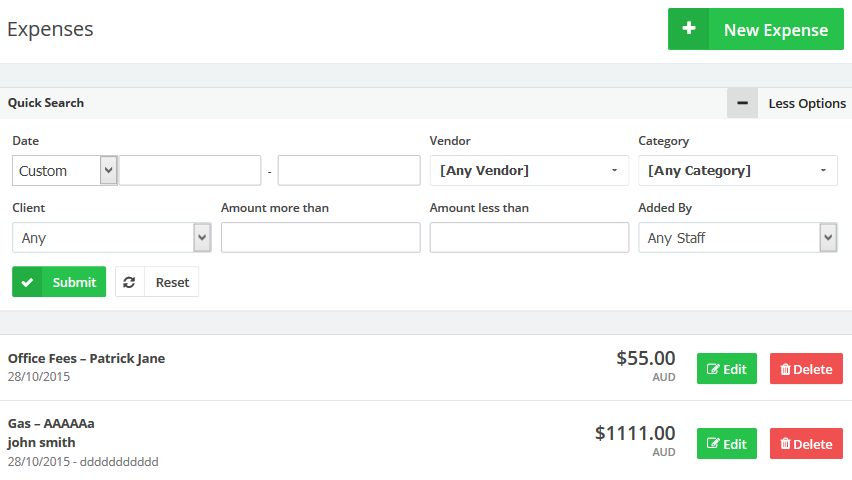
- To create a new expense click the “New Expense” button in the top right corner.
- Use the quick search area to search for expenses
- Use the “Date” section to search for expenses by date.
- Use the “Vendor” drop down menu to view only expenses for this vendor.
- Use the “Category” drop down menu to view only expenses for this category.
- Use the “Client” drop down menu to view only expenses for this client.
- Use the amount more/less than fields to show amount in certain range.
- Use the “Added By” drop down menu to show any expenses created by a certain staff member from your team.
Edit an Expense:
- From the “Finance” menu choose “Expenses”.
- Next to the expense you wish to edit click the “Edit” button.

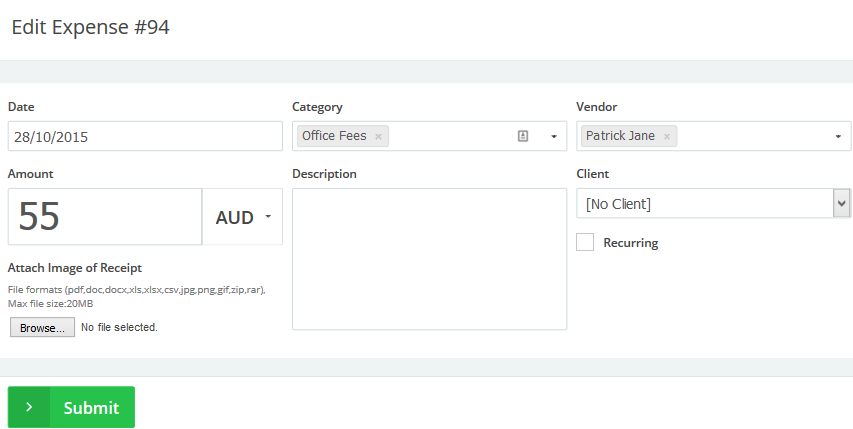
- Edit the details you need to edit.
- Click the “Submit” button.

